How to Do Ombre Hair?
User Review
( votes)This French hair coloring technique is a popular trend these days. It changes the color of the hair from medium brown at the roots to a brighter, lighter tone at the ends. This trendy look can be extremely bold or subtle. Whether you want a subtle transition from dark to light, ombre is a popular look that will add an extra pop to your hair.
ombre hair is a French-termed coloring technique

The French-termed ombre hair coloring technique involves varying shades of a similar color from dark to light. This look is popular and easy to maintain. The gradual colour transition from the roots to the ends of the hair helps to create an ombre effect. This technique also allows for more subtle variations, allowing for an entirely new look. To achieve ombre hair, start with a dark hair color and fade it towards lighter hues as the hair grows.
This style is a beautiful transition from a dark to light color. This look is most striking on darker hair, but it can be done on blonde hair too. Just make sure to specify “sombre” when you go to a salon.
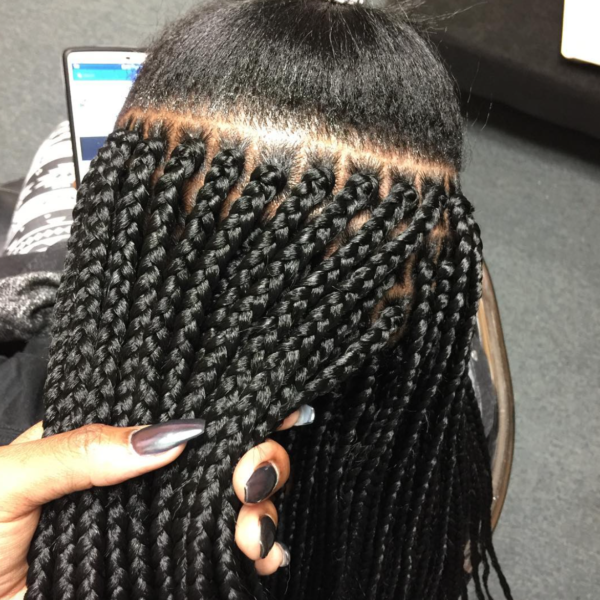
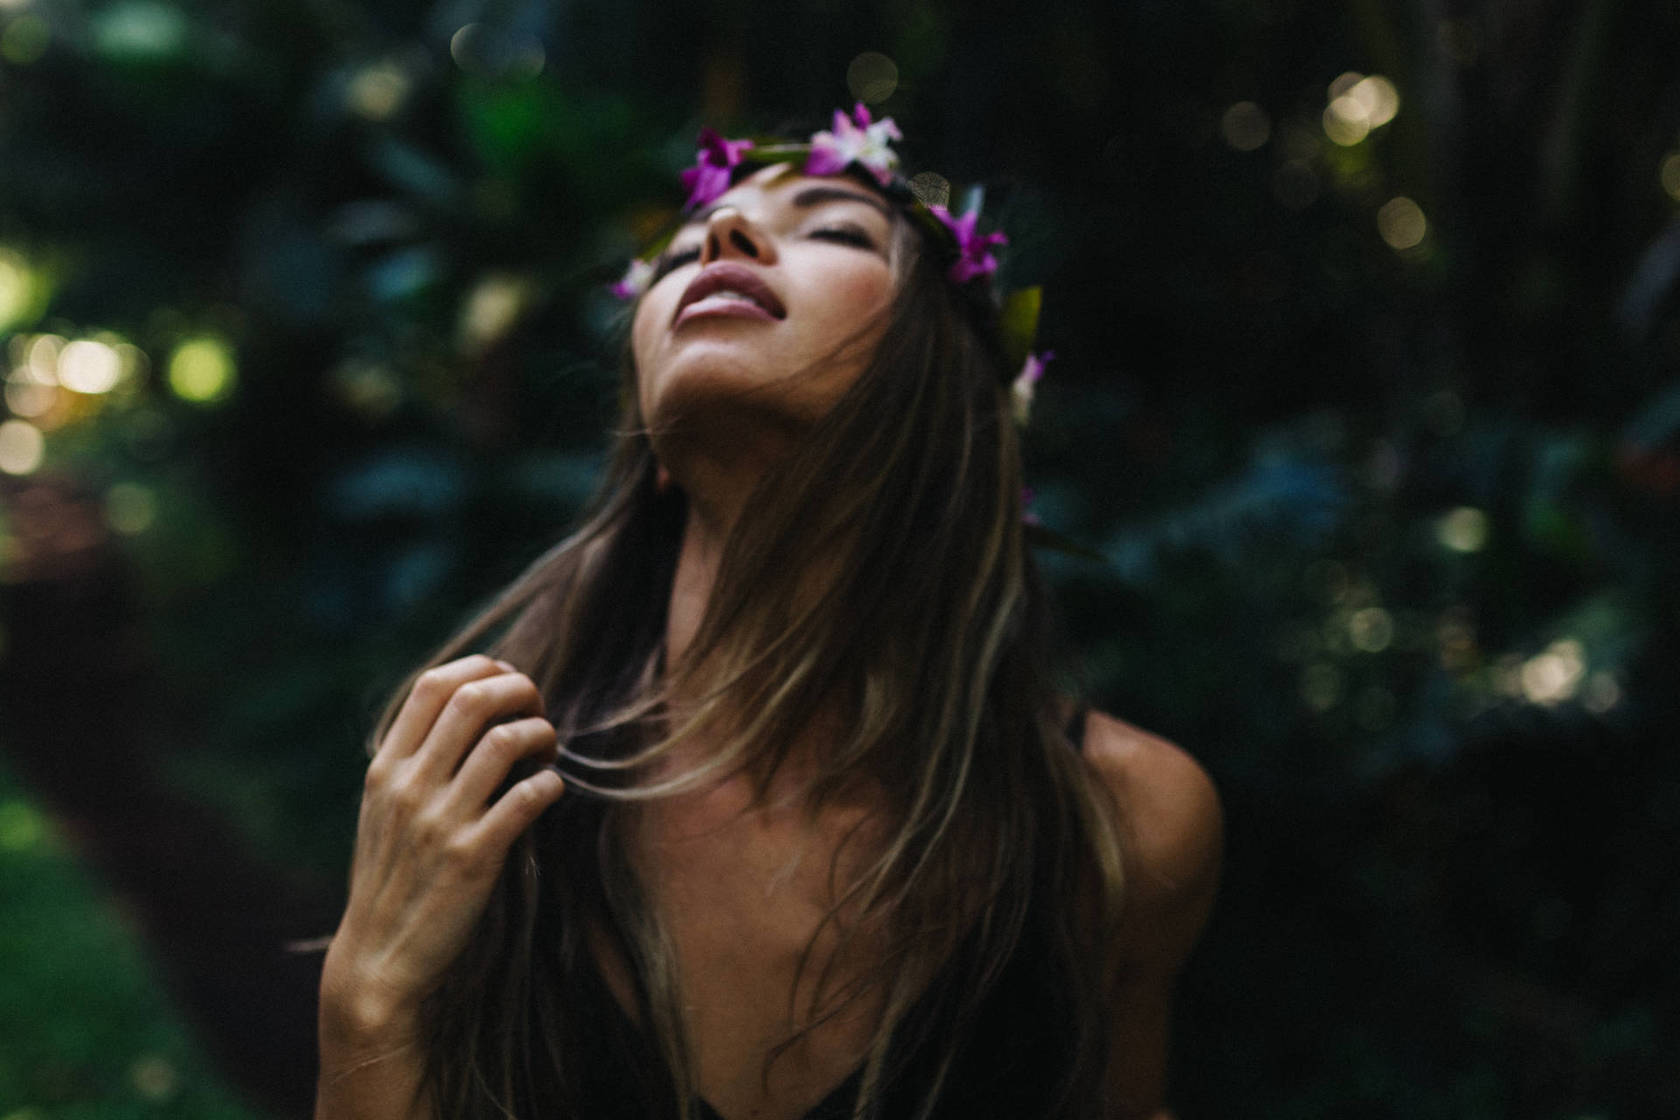
It transitions from medium brown roots to lighter, brighter ends
Ombre hair color is a great way to give your hair a new look. This style allows the hair to transition from medium brown at the roots to lighter, brighter ends. However, ombre can be challenging because it requires a gradual gradient blend and expert artistry. To create the transition without making it unnatural, experienced stylists often flick the lower part of the hair upward while applying the lighter color to the ends. The end result is a seamless transition between the two different colors.
The best way to achieve this look is to start with a darker color at the roots and work your way up. For example, if you have dark hair, start by dying it a medium brown shade and then gradually add lighter strands to the ends. This style will help you to achieve an even gradient. You can also use natural products for coloring your hair.
It is a low maintenance option

If you’re looking for a low-maintenance color, ombre is a great option. This style will look more natural over time and is less likely to require frequent touch-ups. In addition to being low-maintenance, ombre hair also looks great as you grow out. Because ombre is only applied to the ends of the hair, it doesn’t require constant touch-ups or maintenance of the roots.
Ombre hair is easy to maintain, as it is naturally light and dark. You’ll only have to wash it a few times a week and avoid using clarifying shampoos. It will last about two to five months before you need a touch-up.
It is a trendy option
Ombre hair is a trendy choice for those who want a hair color that is subtle yet striking. The look looks natural, especially if the hair is light or medium-brown. It adds definition to curls, waves, and bobs. The ombre trend was first popularized by fashion stylist Alexa Chung.
Ombre hair looks great on people of all skin tones and ages. A professional stylist will know which shades are best for the client’s skin tone. Darker skin types should choose deep reds or coppers, while fair skinned people should go for caramel or blonde. Daring individuals may try out colors that don’t match their skin tone.
It is a natural look
Ombre hair is a natural hairstyle where darker hair is streaked with lighter ones. This type of colouring is usually done in vertical strokes and can look very beautiful. There are various ways to achieve this look, including home kits and dyeing individual strands. Ombre hair is also quite versatile, since it can work with most base colors.
Ombre hair looks great on long and straight hair. It works better on long locks, but can also be worn on short hair.
It is a unique look

Ombre hair is an interesting look that is versatile and shows off your unique personality. The style usually has your natural color at the roots and lighter color on the ends. You can choose the color of your hair to match your personal style, or even ditch the natural color altogether and try something wild and different.
While the process of creating ombre hair is not entirely straight-forward, the results are beautiful. It is a low-maintenance color that will suit most hair types and face shapes. If you have natural brown hair, you can opt for a brown-to-golden brown ombre. You can choose any color-safe shampoo and apply it at your roots and mid-shaft.
It is easy to achieve
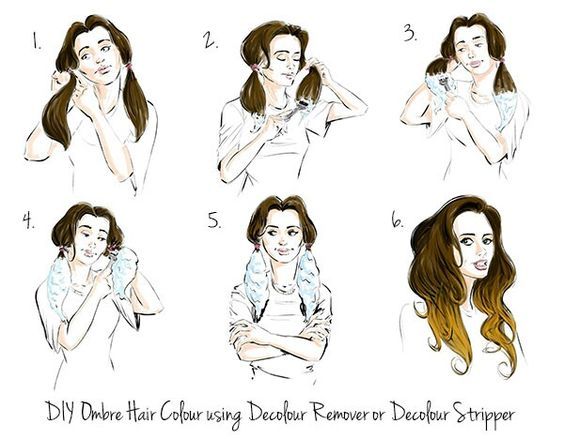
There are several ways to dye your hair to achieve an ombre look. The first option is to use a ombre kit, which consists of a developer and colourant. It is important to follow the instructions on the bottle carefully, and only use it on the ends of your hair. After the colouring process, you should rinse the hair thoroughly.
Another option is to use clip-in ombre hair extensions. This type of hair extension allows you to achieve the ombre effect in a matter of minutes. You can choose a chestnut shade for a subtle blend, or a blonde shade for a more defined ombre. If you want a more vibrant ombre effect, you can use balayage hair extensions.
We look forward to your comments and stars under the topic. We thank you 🙂