How to Make a Flower Wall?
- How to Make a Flower Wall?
- What You'll Need: Materials for Your Flower Wall
- Step-by-Step Guide to Creating Your Flower Wall
- Step 1: Plan Your Design and Size
- Step 2: Prepare Your Base
- Step 3: Prepare Your Flowers
- Step 4: Begin Attaching Flowers
- Step 5: Refine and Reinforce
- Step 6: Installation
- Tips for a Professional-Looking Flower Wall
User Review
( votes)
Flower walls have become incredibly popular for adding a touch of elegance, romance, and vibrancy to any setting. Whether it’s for a wedding backdrop, a photo booth, a party decoration, or simply to elevate your home decor, a DIY flower wall is a rewarding project that can be customized to your style. You don’t need to be a professional florist to create a stunning display; with a few materials and some patience, you can bring your floral vision to life.
What You’ll Need: Materials for Your Flower Wall
Before you start, gather all your supplies. The type of flowers you choose will significantly impact the look and cost.
Essential Materials:
- Base Material: This is what your flowers will attach to. Common options include:
- Chicken Wire or Floral Netting: Flexible and easy to shape, great for a dense look.
- Foam Board or Plywood: Provides a sturdy, flat surface, ideal for pre-assembled panels.
- Fabric Backdrop (e.g., Muslin or Sheer Fabric): Can work for a lighter, more ethereal look, but may require a more secure attachment method for flowers.
- Artificial Flowers: For longevity and reusability, artificial flowers are usually the best choice. Look for a variety of sizes, textures, and shades.
- Roses, Peonies, Hydrangeas, and Greenery: These are popular choices for a lush, full appearance.
- Tools for Attaching Flowers:
- Hot Glue Gun and Glue Sticks: Essential for securing flowers quickly.
- Floral Wire or Zip Ties: Useful for attaching heavier blooms or securing sections to the base.
- Wire Cutters or Scissors: To trim stems and netting.
- Measuring Tape: To determine the size of your wall.
- Staple Gun (optional): If using a wooden frame or plywood.
- Stand or Frame (for freestanding walls):
- Pipe and Drape Kit: Professional and adjustable.
- PVC Pipes: A more budget-friendly DIY frame.
- Wooden Frame: Can be custom-built.
 Step-by-Step Guide to Creating Your Flower Wall
Here’s how to assemble your beautiful floral masterpiece:
Step 1: Plan Your Design and Size
- Determine Dimensions: Measure the area where your flower wall will be displayed. This will help you decide the size of your base material and how many flowers you’ll need.
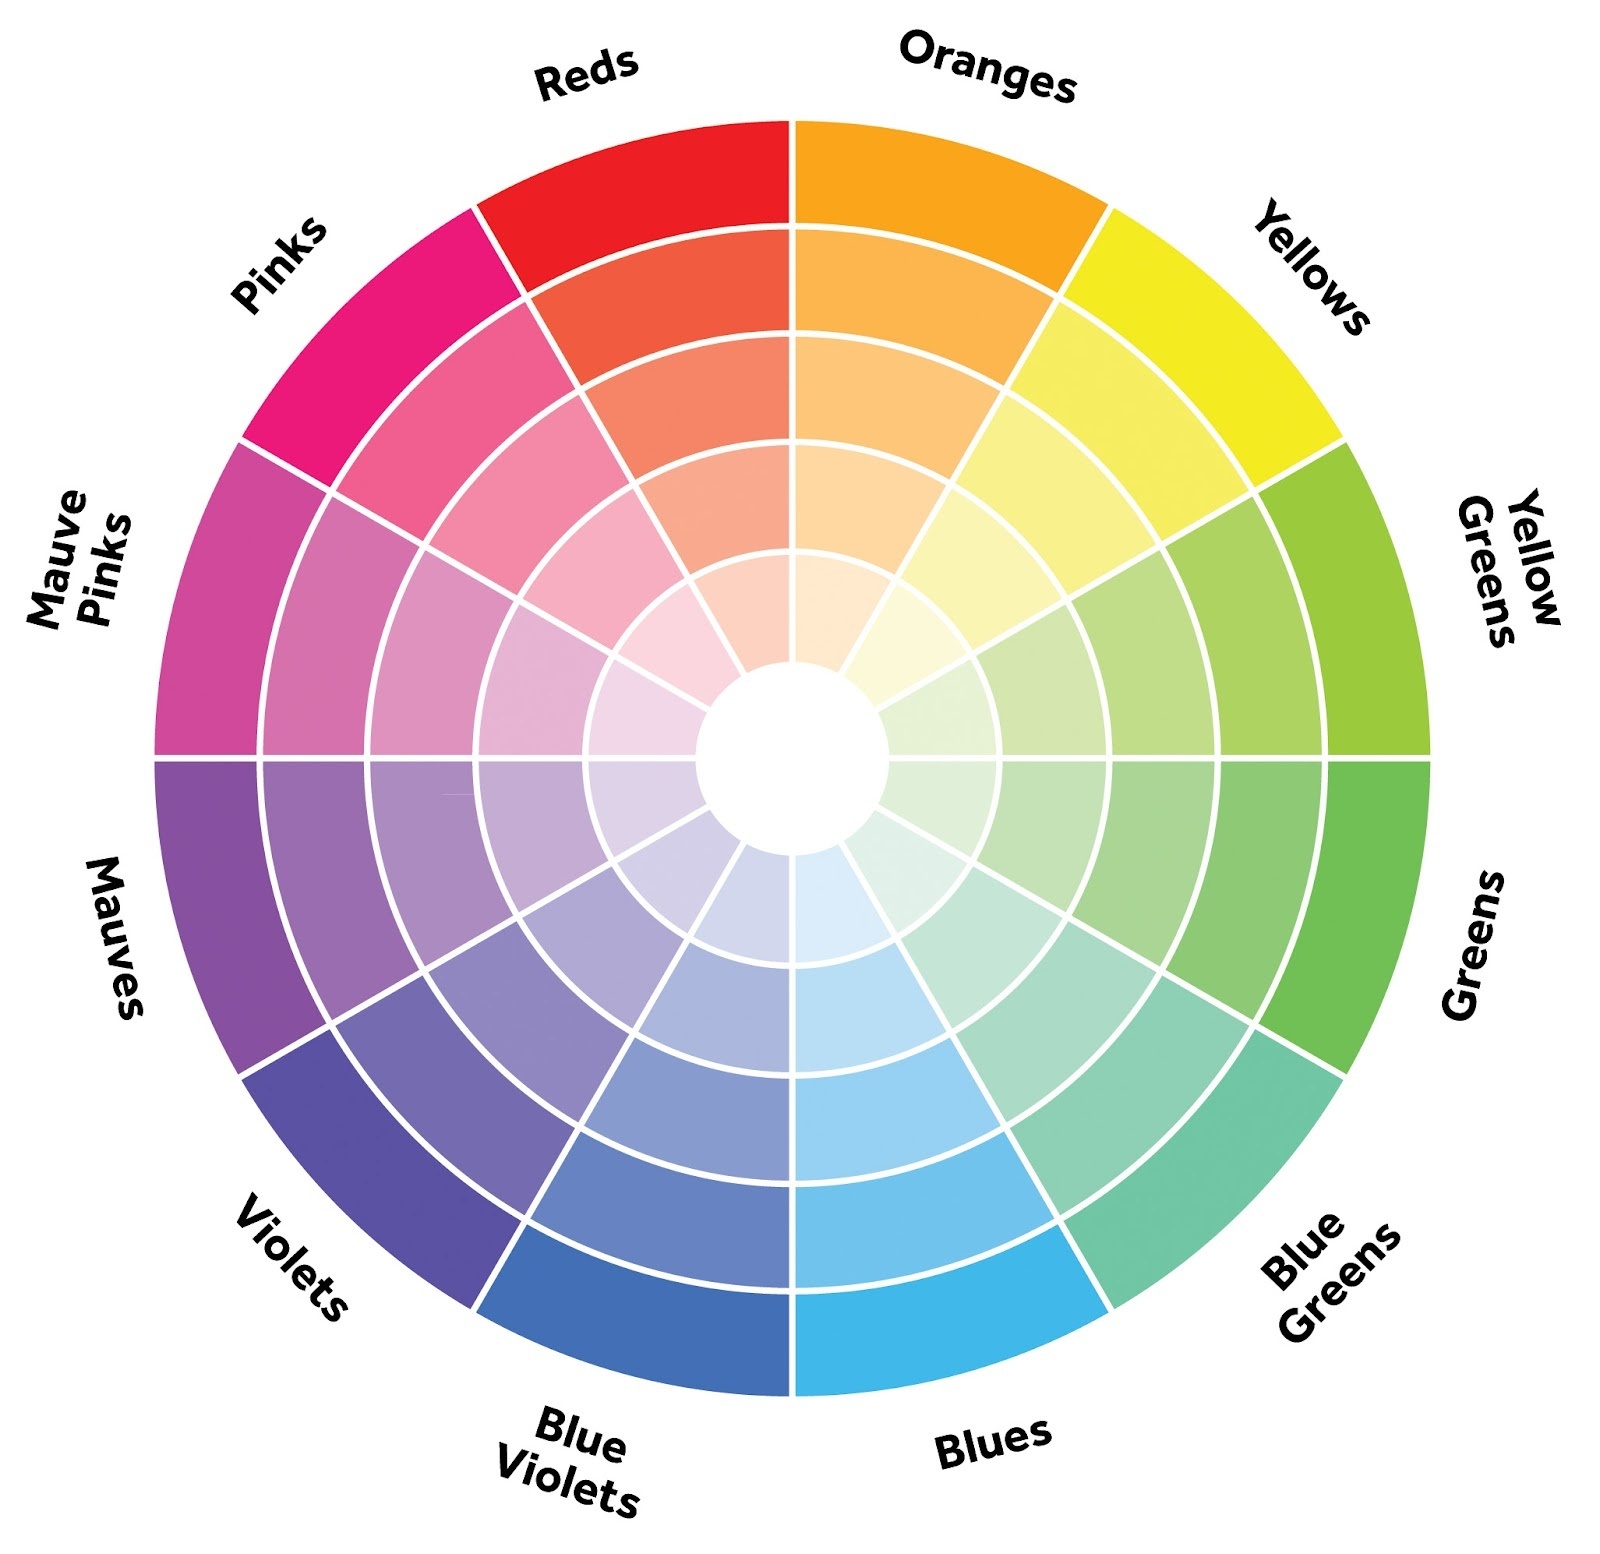
- Choose Your Color Scheme and Flower Types: Decide on the overall aesthetic. Do you want a monochromatic look, a vibrant rainbow, or a sophisticated gradient?
- Sketch It Out (Optional but Recommended): A rough drawing can help you visualize the placement of different flower types and colors.
Step 2: Prepare Your Base
- For Chicken Wire/Netting:
- Cut the netting to your desired dimensions.
- If creating a freestanding wall, attach the netting securely to a frame (e.g., a PVC pipe or wooden frame).
- If attaching directly to a wall, plan your hanging points (e.g., Command hooks, nails).
- For Foam Board/Plywood:
- Cut the board into manageable panels. This makes it easier to transport and store, and you can connect them later.
- Consider painting the board a color that blends with your flowers (e.g., green or a neutral tone) if there might be gaps.
 Step 3: Prepare Your Flowers
- Deconstruct if Necessary: Many artificial flower bunches come with multiple blooms on one stem. You may need to cut individual flowers or small clusters from the main stem using wire cutters.
- Fluff and Shape: Gently open up the petals and leaves of your artificial flowers to make them look fuller and more natural.
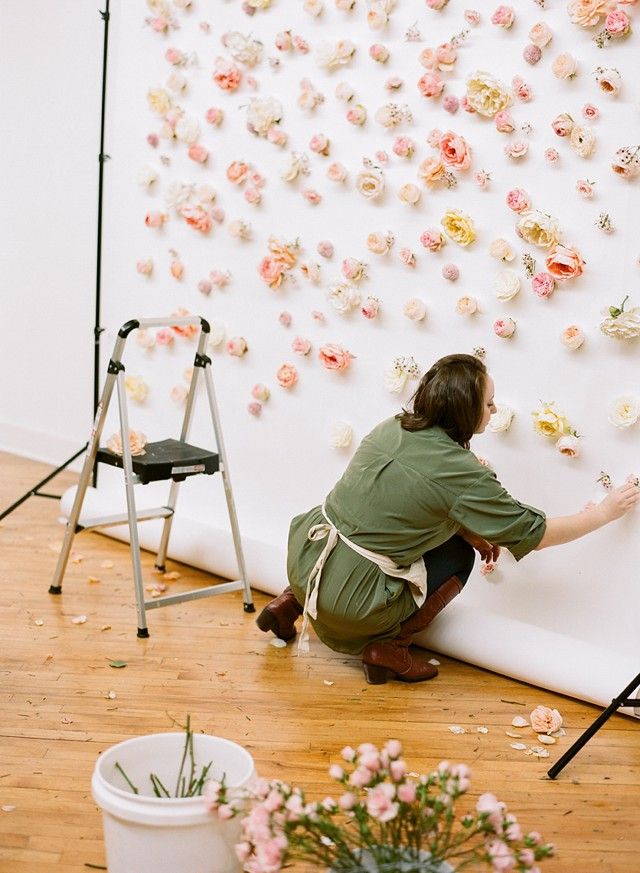
Step 4: Begin Attaching Flowers
This is where your vision comes to life!
- Start with Larger Blooms: Begin by hot-gluing or wiring your largest flowers onto the base. Distribute them evenly across the wall to create a foundation.
- Fill in with Medium-Sized Flowers: Place medium-sized blooms around the larger ones, ensuring good coverage.
- Add Smaller Flowers and Greenery: Use smaller flowers and various types of greenery to fill in any gaps and add texture and depth. Greenery is excellent for making the wall look lush and natural.
- Work in Sections: It’s often easier to work in small sections, ensuring dense coverage as you go.
- Vary the Direction: Attach some flowers facing directly forward, and others at slight angles, to create a more organic and dimensional look.
- Layering: Overlap flowers slightly to create a truly full and seamless appearance.
Step 5: Refine and Reinforce
- Check for Gaps: Step back frequently and assess your progress. Look for any bare spots and fill them in.
- Reinforce Attachments: For flowers that feel loose, add more hot glue or secure them with floral wire.
- Add Special Touches (Optional): Consider adding fairy lights woven throughout the flowers for an enchanting evening glow, or incorporate other decorative elements like butterflies or pearls.
Step 6: Installation
- For Freestanding Walls: Ensure your frame is stable and secure.
- For Wall-Mounted Walls: Use strong Command hooks, nails, or a sturdy hanging system appropriate for the weight of your finished wall. If using multiple panels, secure them together once mounted.
Tips for a Professional-Looking Flower Wall
- Mix Textures: Combine different types of flowers and greenery for a richer, more dynamic look.
- Vary Shades: Even within the same color family, using different shades will add depth.
- Don’t Rush: Take your time. This is a creative project, and patience will pay off.
- Consider Lighting: Think about how the lighting in your space will affect the appearance of your flower wall.
- Reusability: If you plan to use your flower wall multiple times, choose durable artificial flowers and a sturdy base.
We look forward to your comments and stars under the topic. We thank you 🙂