How to Make an Envelope?
User Review
( votes)There are several ways to create a handmade envelope. Paper bags, for example, can be used as envelopes. But before you can use paper bags as envelopes, you must cut them flat. This can be done by using a ScanNCut or scrapbooking paper. Once the bag is flat, it is time to make the envelope. Next, you should fold the “good” side inward.
Making a money gift envelope
 If you want to make a gift for a loved one, consider making a money gift envelope. These elegantly simple envelopes are ideal for presenting U.S. currency and can be purchased in various styles. Choose from plain white, colored, or pre-printed designs. Each money gift envelope is made of 24# white sulphite paper and features an oval cutout that shows the contents of the gift when the gift is raised.
Making a card that fits a gift card
If you have a gift card to give, you should consider making a card that fits the card. You can create a gift card holder using a zipper pouch. All you need is one piece of card and a template. Once you have the template, score the card and glue the card holder in place. Once the card is in place, you can give it to your recipient. If you want to make it even more special, you can decorate it.
First, choose the size of the gift card. Most gift cards are uniform in size. They are approximately 3.375 inches wide by 2.125 inches high. This size is most common and will fit into a wallet. You can also choose a different shape. In any case, make sure the size matches the card. You can even make a card to fit a unique shape. The size and shape of the gift card determines how to make a card for it.
Once you have chosen the size and shape of the card, use a template or designer tool to customize your design. Then, download your design as a high-resolution image file, PDF with bleed marks, and send it to your local printer. Plastic gift cards have magnetic strips. The recipient can then take their card with them and use it for payment. You can also customize the backside of the card if you choose to do so.
If you want to make a gift card holder that combines two different gift cards, you can do so with a printable template. Many scrapbooking sites offer free templates, so it’s easy to find one that suits your needs. Aside from using scrapbooking paper, you can also use containers that fit gift cards and print on them with your own custom design. The possibilities are endless! You can even design your gift card in the shape of the recipient.
Using a ScanNCut
 You can use the ScanNCut to make small greeting cards. You can buy a pre-folded blank card that is 10” x 7” with an envelope, or use a piece of cardstock and cut it to size. Click the “Retrieve Data” button on the home screen to view saved designs. If you want to print a card with a custom design, choose the Sailboat design, and then select the “Page Size” option. You can also delete the Welcome word with a stylus.
There are also DIY envelope templates available. The PDFs that you download are half-size, and you will have to double them before cutting. However, the ScanNCut envelope template will be 100% sized and will print on 12 x 12-inch scrapbook paper. These templates are perfect for those who want to add embroidery to their DIY envelopes. After cutting the envelope, you can adhere the patterned insert on the inside of the envelope. Make sure that the adhesive is on top of the paper, so that the pattern will be visible.
Using scrapbooking paper
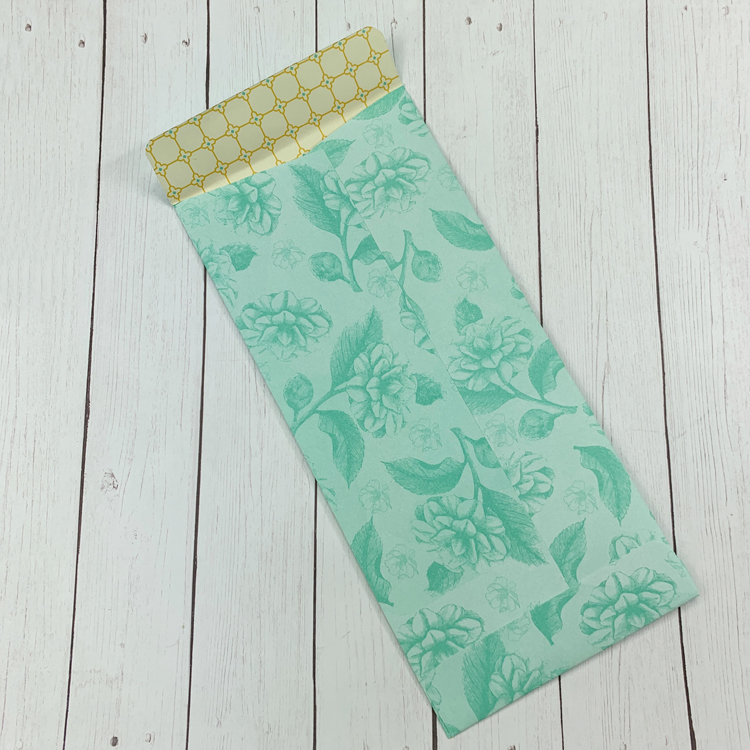
To make an envelope, you need a piece of scrapbooking paper, about 12 x 12 inches. You will also need craft glue, glitter, or ModPodge, scissors, and a ruler. You should fold the paper in half evenly. To cut the paper, cut off the top and bottom folds and half an inch from each edge. After you cut the paper, you’re ready to make the envelope!
To make an envelope, first mark an 8-by-8-inch square on the scrapbooking paper. Cut out the square using a paper trimmer. Then, fold each side flap in half and glue the bottom flap into place. Now, you’re ready to fold the flaps down. If you’re making a thicker paper, you can also use an embossing tool to score lines at the base of the flaps. Fold down the flaps and crease.
You can also use other materials for your envelope. You can use a greeting card or extra print from an event. Then, you can use the envelope to hide sensitive journaling. In addition to using scrapbooking paper, you can use magazines pages, old catalogs, and even family photographs. Just make sure to put the greetings and return address on a white mailing label. You can find an easy guide to the sizes of cards and envelopes in our free resource library.
Using scrapbooking paper to make an invitation or an envelope is an easy craft that’s a lot of fun! Scrapbook paper can come in a wide range of colors and designs. It’s also a fun and unique way to recycle waste and save money on an everyday item. Making your own envelope is a perfect rainy day project. The possibilities are endless! So get crafting! Make some scrapbooking paper envelopes for your next birthday, wedding, anniversary, or other special event.
Using a shopping bag
 If you want to create an envelope that is unique, you can use a shopping bag. First, use a plastic grocery bag to provide waterproofing. This way, the recipient can reuse the bag. Next, cut out the outer envelope shape from a brown paper bag. Brown paper bags are sturdy enough to hold two envelopes and are good for a small gift. If you don’t want to use the bag for another purpose, you can close it with some stitching.
If you don’t have a sewing machine, you can use a paper shopping bag. Once you have cut the bottom portion of the bag, you can fold the sides and bottom out to create a triangle shape. Glue the bottom corner in place. Repeat this step for each side. If you don’t have one yet, you can purchase a shopping bag with an embellished design.
After cutting the bottom, open the bag and remove any excess plastic. Fold the sides and bottom edges and press them down firmly. Make sure the sides are even and match. Using packing tape, you can reinforce the bottom and sides edges of the envelope. If you want to customize your envelope with a logo, use this method to create a customized bag. When you’re done, the finished product will look great.
During the 1950s, shopping bags were mostly made of paper. Then, in the 1960s, a Swedish company patented a standard “T-shirt” style plastic bag. This invention became popular in the U.S., and supermarkets began offering them alongside paper bags. These basic poly bags were cheaper than paper bags. They were widely used by discount retailers and prompted environmental concerns. In the 1990s, plastic shopping bags began to become more environmentally-friendly.
We look forward to your comments and stars under the topic. We thank you 🙂