How to Make Clay Rings at Home? 2022
- How to Make Clay Rings at Home? 2022
- What Can I Do To Customize The Clay Ring?
- What Should I Do Before Starting a Clay Ring Project?
User Review
( vote)
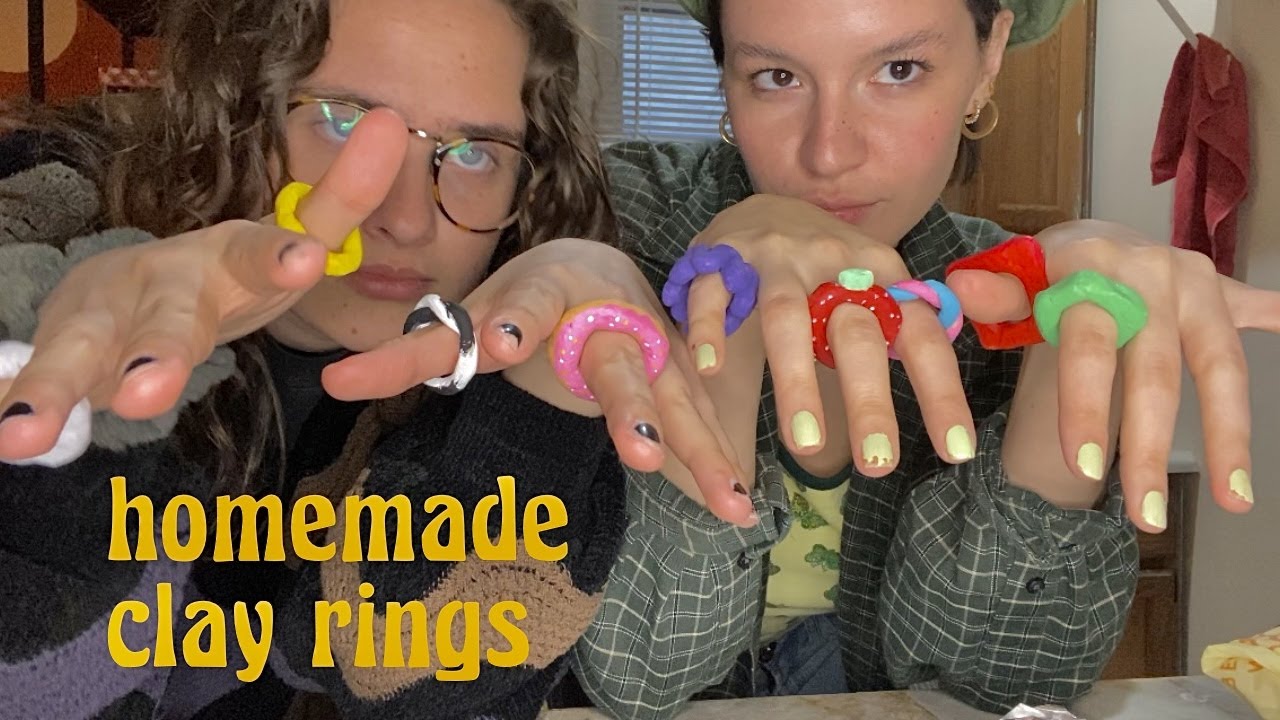
Learning how to make clay rings is easy once you learn the proper tools and techniques. You will need a toaster oven to bake the clay, a polymer clay ring mold, and polymer glaze. Once you have these supplies, you can begin the process of making your clay rings. Start by flattening a square of clay with a thick marker. Roll the clay until it is as flat as possible, but not too thin. Then, you can decorate the ring with colored markers and other designs. Next, wrap the ring around your finger and bake it as instructed.
What Can I Do To Customize The Clay Ring?
If you’d like to customize your clay ring, you can add different textures, designs, and even other pieces of your favorite clay. After you’ve baked your clay ring for at least 10 minutes, you can decorate it using any medium you choose. You can use clear nail polish or mod podge to add embellishments. After you’ve baked your clay earring, you can start decorating the rest. And if you’re feeling particularly creative, you can paint the ring with a design you’ve drawn yourself on the top.
You can create rings in several different styles, from thick bands with squiggles to woven designs. Polymer clay is versatile and can be used for a variety of crafts, from jewelry making to scrapbooking. Just remember to follow the directions on the packaging and ensure that you’re using quality materials. It’s easy to learn how to make clay rings with the right tools and resources. Just take a few minutes and you’ll soon be creating beautiful handmade jewelry!
To get started, you’ll need clay. You’ll need two to three grams of clay for a single ring. Once you’ve made the basic ring, you can embellish it with different types of decorations. For example, you can paint it with mod podge or clear nail polish. These will make it look more professional and will impress your loved ones. So if you’re interested in learning how to make clay rings, don’t hesitate to check out these tips. So, start making your own DIY artisanal jewellery!
What Should I Do Before Starting a Clay Ring Project?
Before you start your clay ring project, you should decide on a design. You can create a polymer clay ring using a stamp similar in size to the diameter of the ring. When you shape the asymmetrical shape, you can use your rubber stamp to stamp the pattern. After completing the stamping, you can stick the blank on the ring. This will give the desired effect.
After making your ring, seal it with beeswax or acrylic concealer. Adding a layer of wax to your clay ring will protect it from moisture and prevent the clay from drying out. It’s also worth your while to seal it properly. You can use the same method to make your clay ring. Then, it will be ready to be worn! The finished product will be perfect for you and your loved ones.
What’s the Next Step in the Clay Ring Project?
The next step is to roll the clay. A flat, square face ring is the best choice for beginners. You can then roll out the clay using an acrylic roller or pasta machine. You can then open the ring. It will be round and shiny. You can add any design you want. And don’t forget to test it before you put it in your hands! Then, you can start wearing!
After you cut the clay, wrap it tightly around the ring gauge. Then use a knife to cut the ring. Then roll it with paper until it’s round and smooth. Once round, use a knife to cut the parchment paper. If you want to add string to your ring, you can also try a string polymer clay ring. The polymer clay wig is perfect for a thin finger.
If you don’t want your clay to be smooth, you can use a polymer clay ring gauge. A ring measuring tool will make it easier to work with as it will help keep the ring round. You can also use a plastic ring measurer to make rings of different sizes. This way you can easily fit your finger and make it unique. The polymer clay ring gauge is the most popular tool for making clay rings.
We look forward to your comments and stars under the topic. We thank you 🙂